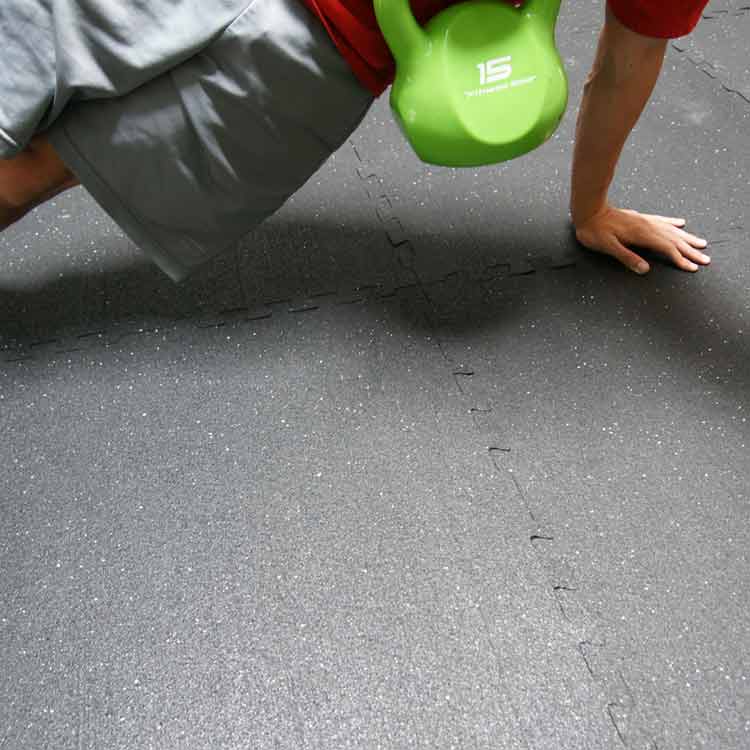
 Are you thinking of transforming part of your house into a private gym? Or maybe pondering a new backyard playground set for your children? What’s stopping you? Well, this may not be a surprise, but many people start rethinking their renovation plans when they arrive at the issue of flooring. Professional flooring can be expensive, with an installation labor fee charged on top of the materials. Installation crews can also be rough and messy; rushing installs to meet busy schedules. Here at Rubber-Cal, we think all of our customers are smart, skilled, and can certainly take matters into their own hands. Our rubber interlocking tile flooring is the solution to pricey installations and messy glues. Specifically, our Eco-Sport interlocking floor tiles have been featured on a variety of television shows, with special highlighting done on their simple DIY factor. Follow along with this step-by-step guide and see just how easy it is to install premium rubber flooring on your own!
Step 1: Measure the dimensions of the area you would like to cover. Our Eco-Sport tiles are exactly 2 ft. x 2 ft., so it’s easy to calculate how many you need! For those that are really novice I will go into depth as to how to figure out how many interlocking floor tiles you will need. For the pros we appreciate your patience. Since each tile is 2ft. wide and 2ft. long, it makes them 4 square feet each
Step 2: If you also multiply the width of your space by the length of the room you will arrive at the total square footage needed to fill the “area’’ of you soon to be gym. Let’s assume that your room is 12 feet wide and 16 feet long. 12 times 16 is 192, therefore the area of the room is 192 square feet. By dividing 192 by 4, we arrive at the number of rubber interlocking tile products needed to floor the room: 48 is the answer!
Step 3: Select a tile color that best matches your application or surrounding décor! We are proud to offer you a range of color selections so you can choose from terra cotta, green, slate, blue, and black. My personal favorite is black, since there are no paints used to color the tire chips the product is also less expensive.
 Step 4: Don’t forget the plastic pins! These tiles are locked together by small plastic interconnector pins. The pins go horizontally between the interlocking floor tiles. You don’t have to worry about them being eyesores on your new floor, because the pins are not visible when the tiles are interlinked. For each tile about 6.5 units of pins are required.
Step 5: This product comes with the option of ramps. When ramps are added to the rubber interlocking tile flooring they bring the height of the tile from their 1 inch down to the ground floor. This allows for better safety for incoming foot-traffic and allows access by wheeled equipment. We suggest the ramps only for entryways and perimeters where foot-traffic enters the space.
Step 6: Start at one end of the room that faces the wall. Take a second tile and line up the holes with pins inserted into the first one. Push the second tile toward the first so that the pins lock them together.
Step 7: Continue placing pins into the holes and attaching tiles one at a time for the length of your flooring space; when you have reached the end, start adding the second row onto the first. Make sure to attach pins on both sides of the tiles as you continue this process.
Step 8: Continue adding as many subsequent rows as your flooring project requires! Adhesives are not necessary for securing your new floor, because rubber floors have high traction and can stay secure under their own weight. However, if extra security is desired, glue adhesives or industrial double-sided tape can easily hold them in place.
There you have it—installing your very own premium gym floor can be clean and simple with rubber interlocking tile flooring. With no mess and no additional fees, they make any flooring project much easier. The next best thing about DIY interlocking floor tiles is that you can claim full bragging rights about installing it by yourself!